
Guides
How to Hang a Heavy Mirror Safely

A heavy mirror can tear out of weak drywall, crack against a wall, or damage a hand-painted frame if the mount is wrong. The safe method is clear: inspect the mirror first, match the fixings to the wall, mark every point twice, then hang it with help.
This is how I approach the job for a large framed mirror, including collectible pieces that need careful handling.
Step 1: Check the Mirror, Wall, and Hanging Hardware
Before you work out how to hang a heavy mirror, find out what the mirror weighs and how its frame is built.
Look at the back. Is there a solid wood frame with D-rings? A wire? A metal cleat? Some mirrors have small sawtooth hangers that suit light décor but don't give a heavy piece enough support. Don't trust a hanger just because it came attached to the frame.
Use a luggage scale or bathroom scale to weigh the mirror. If you can safely place the mirror on a protected floor, weigh yourself first, then weigh yourself while holding it. Subtract the first number from the second. Write down the result and the mirror's full width and height.
Inspect the frame for loose joints. An old frame may look sound from the front while the corners have begun to open at the back. If the frame flexes when you lift it from both sides, stop. Add suitable angle brackets to the rear frame or ask a framer to reinforce it before mounting.
Handle a painted frame by its sides. Never lift it by a wire, ornament, or upper edge. A hand-painted Persian mirror from Pilardi, for example, should be treated like a framed artwork. Each piece is one-of-one, handcrafted by artisans in Isfahan, then curated and shipped from Paris.
Set out the basic tools before you start:
- Tape measure and pencil
- Level
- Stud finder or another way to locate solid framing
- Drill with the right bit for the wall
- Screwdriver
- Fixings rated above the mirror's measured weight
- Soft blanket or thick towel
- A second adult to help lift and place the mirror
A radar-based stud finder can help when studs or wires sit behind thick plaster. Still, treat any electronic reading as a clue. Check the wall with care before drilling. A useful visual reference for the basic hanging sequence is a mirror hanging demonstration, but your wall and frame still decide which hardware is safe.
If the mirror has no sound hanging point, don't improvise with tape or adhesive alone. A professional framer or glazier can fit a better mounting system. For owners in the Amsterdam area, a local glass repair, installation, or renovation professional may suit a mirror project needing specialist help.

Step 2: Identify the Wall Type and Choose the Correct Fixings
The right way to hang a heavy mirror depends on the wall behind the finish. Drywall, plaster, brick, and concrete need different fixings.
Tap the wall in a few places. A hollow sound often points to drywall. A hard, steady sound may indicate masonry or plaster over a solid base. A stud finder can help locate timber or metal studs, but scan slowly and mark both edges of each stud. If you drill near a socket or switch, assume cables may run through the wall and choose another point unless you can confirm the route is clear.
Drywall is a panel material with a gypsum core, as described in Wikipedia's definition of drywall. The panel itself may not hold a heavy mirror well. A screw driven into a timber stud gives much better support. If the mounting points don't line up with studs, use a suitable toggle or hollow-wall anchor whose load rating exceeds the mirror weight.
Plaster needs care because it can chip around a hole. Drill a small pilot hole first. Use a bit suited to the plaster and keep the drill speed controlled. If you feel a solid surface behind the plaster, stop and switch to a masonry fixing rather than forcing a drywall anchor.
Brick and concrete need masonry bits and plugs or anchors made for that material. Don't use a plastic drywall anchor in masonry and assume the screw will make up the difference. The anchor must grip the wall, while the screw must match its size and depth.
For a very heavy mirror, a metal cleat spreads the load across a wider area than one screw. It also makes the final lift more controlled. Two D-rings with separate screws can work well when the frame is strong and the wall points are sound.
Choose hardware based on the measured weight, not the mirror's size alone. A compact mirror with a thick wood frame may weigh more than a wide, thin mirror. Keep the packaging or hardware notes if the maker supplied them.
Step 3: Measure the Position and Mark the Mounting Points
Accurate marks make it easier to hang a heavy mirror level and keep its top at the height you want.
Start with the room, not the hardware. Decide where the mirror should sit in relation to a console, mantel, or nearby artwork. Leave enough space for the frame to clear the furniture. A collectible mirror often reads best at eye height, above a console, or on a calm wall where its painted detail has room to show.
Ask a helper to hold the mirror in place. Step back. Check the height from several points in the room, not only from directly in front. Mark the top edge with low-tack tape or a very light pencil line. Don't press the frame hard against the wall while deciding. You need to see the true position.
Next, measure the hanging hardware. If the mirror uses D-rings, measure from the top edge of the frame down to each ring. Then measure the horizontal distance from the frame edge to each ring. Transfer those measurements to the wall after you mark the top edge.
For wire, pull the wire upward to the point where it will rest on the hook. Measure the distance from that peak to the top of the frame. A short scrap of wood can make this easier. Mark the top edge on the wood, mark the wire peak below it, then carry the same distance to the wall.
For a cleat, hold the wall section of the cleat at the planned height. Mark its screw holes. Check that the cleat is level before drilling. The mirror section must face the right way and sit fully inside the wall section.
Use a level across the marks. Measure again from the left edge, then from the right edge. If the numbers don't agree, erase and start over. A small error at the wall can become a clear tilt once the mirror is hung.
When two wall anchors are needed, mark both points on the same horizontal line. When one point must enter a stud, let the stud decide the hardware position and adjust the mirror placement by a small amount if needed. A sound fixing matters more than a perfectly centered pencil mark.
If the mirror is part of a larger arrangement, place paper templates on the wall first. Cut paper to the mirror's size and tape it in position. This lets you test gaps without lifting the real piece several times.
Step 4: Install the Fixings and Hang the Mirror With Two People
Now install the hardware without rushing. Hanging a heavy mirror is a two-person lift, even when the mirror looks manageable.
Put the mirror face down on a padded surface. Keep the glass away from grit. If the frame has D-rings, check that each ring is firmly screwed into sound wood. If the screw holes look enlarged, move the hardware to solid wood or have the frame repaired.
Drill pilot holes at your wall marks. Use a bit smaller than the screw when entering a stud. For masonry, use the bit size stated for the plug or anchor. For a snap-toggle, drill the required hole, push the metal channel through the wall, then pull the straps toward you until the channel sits flat behind the panel. Break or trim the straps only after the channel is set, then drive the screw into the channel without crushing the drywall.
Don't overtighten. An anchor that spins or pulls into soft drywall has failed. Remove it and move to a fresh point, or change the mounting plan. Never keep turning a screw in the hope that the wall will become stronger.
For a stud screw, leave the head proud enough for the D-ring or wire to catch. For a cleat, make sure every required screw is in place before the mirror goes up. Test the cleat by pulling down with firm hand pressure. This test isn't a substitute for its load rating, but it can reveal a loose screw.
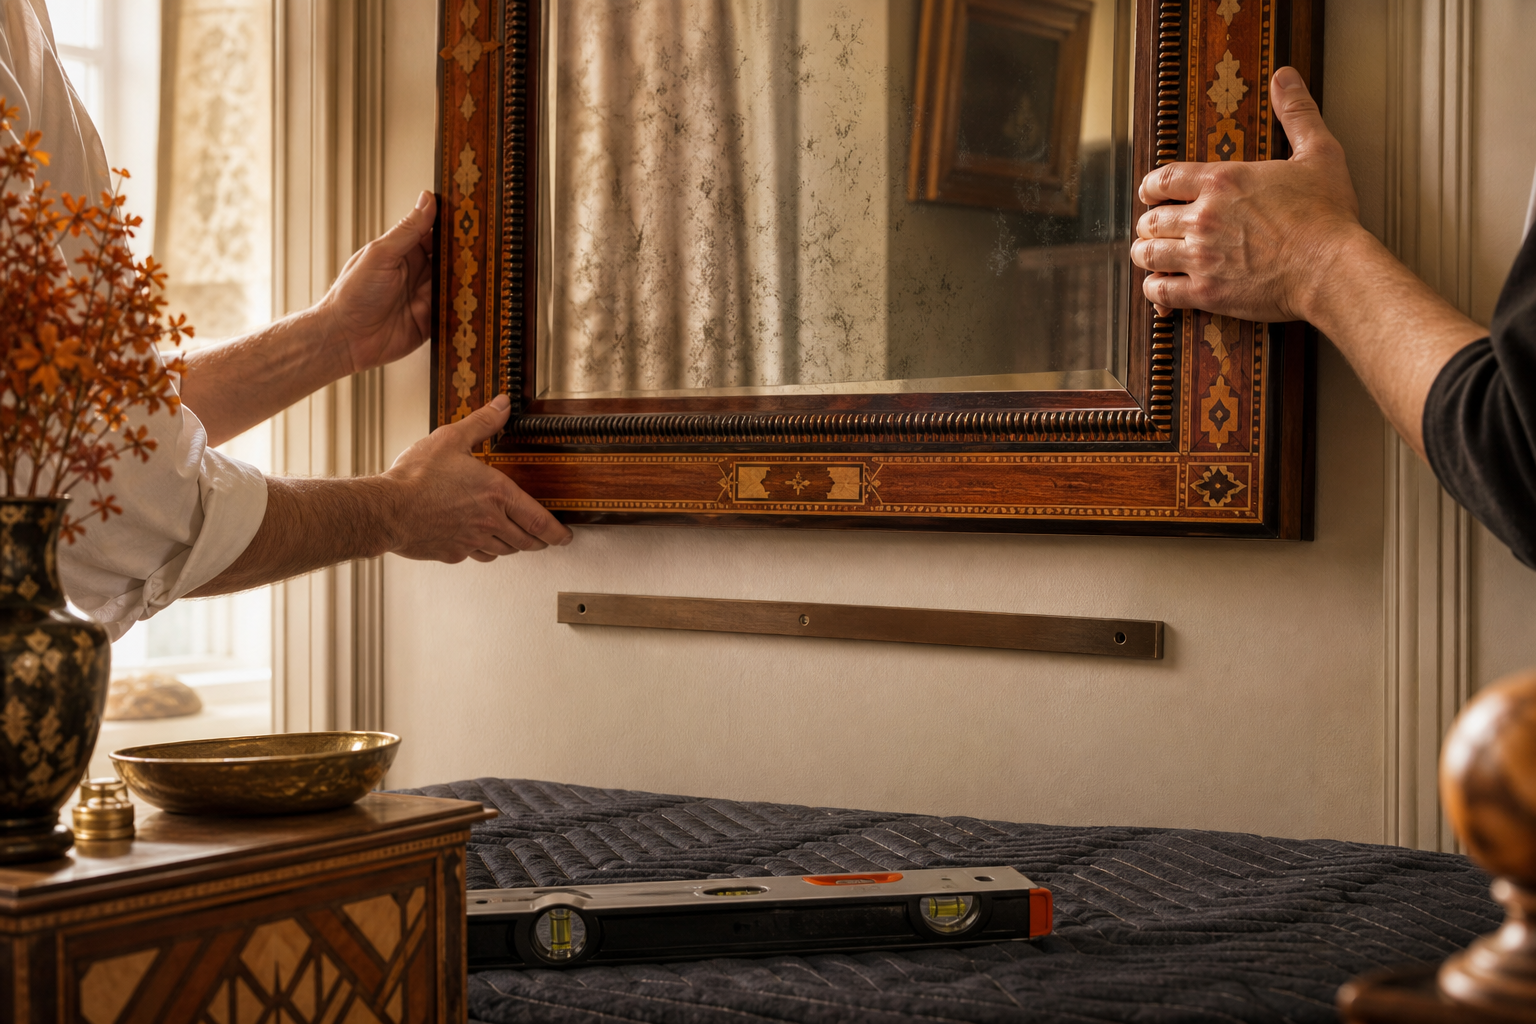
Lift the mirror with one person on each side. Hold the frame by its sides. Keep fingers away from the lower edge as you bring it toward the wall. One person should guide the hardware while the other keeps the mirror steady.
With D-rings, lower each ring onto its screw in turn. With a wire, center the wire on the hook or hooks. With a cleat, lower the mirror section straight onto the wall section. Don't drag a painted frame sideways across the wall. That can chip a corner or scrape the finish.
Once the mirror is resting on its fixings, keep both hands on it. Ask your helper to step back while you check that the hardware has engaged fully. A screw tip that only catches the edge of a D-ring is not enough.
The English verb “hang” means to attach or place something so it is supported from above. That simple idea matters here: the wall fixing must support the load, and the frame hardware must stay engaged with it.
Step 5: Test the Installation and Finish the Display
The installation isn't done when the mirror first reaches the wall. Test it while the hardware is still easy to adjust.
Place the level across the top edge. Check both directions. Then stand to one side and look for a gap between the frame and the wall. A slight gap may be normal with D-rings or wire, but the mirror shouldn't rock when you touch the lower corners.
Press the upper corners gently toward the wall. Then press the lower corners with light, even force. If the mirror shifts, comes away from the wall, or makes a crackling sound, lower it and inspect the fixings.
Small foam or rubber bumpers on the lower rear corners can reduce wall marks and stop minor movement. Use bumpers made for the task, or cut clean pieces from suitable foam. Keep them thin enough that they don't push the mirror out of level.
Look at the room from the usual entry points. A mirror above a console should leave enough clearance for lamps and objects. A hand-painted frame should not sit where a door, chair, or passing bag can strike it. Pilardi's guide to styling Persian decor with intention takes the same restrained view: give a detailed mirror a quiet space around it.
Clean the glass with cleaner on a soft cloth rather than spraying the mirror itself. Overspray can reach a painted frame. Dust the frame with a dry, soft cloth. Keep the piece away from regular steam and high humidity.
Check the mount again after a few days. This is especially wise in an older home where plaster or framing may move. A mirror that stays level and firm has passed the useful test. If it doesn't, take it down before the problem grows.
FAQ
Can I hang a heavy mirror on drywall?
Yes, you can hang a heavy mirror on drywall when you use a fixing rated for its weight and wall condition. A screw into a stud is usually the first choice. If no stud lines up, use a suitable toggle or hollow-wall anchor. Never rely on a small plastic plug for a mirror that exceeds its rating.
How do I find a stud behind plaster or drywall?
You can find a stud with a stud finder, by checking known framing points, or by tapping for changes in sound. Scan slowly and mark both edges instead of trusting one reading. Check for wiring before drilling. A radar-based finder may help behind thick finishes, but it should not replace care.
Should a heavy mirror hang from wire or D-rings?
D-rings with two wall fixings often give a heavy mirror steady support when the frame is strong. Wire can work when it is properly attached and rated for the load, but it creates a single hanging point unless you use two hooks. Follow the frame maker's hardware plan when one exists.
How high should I hang a heavy mirror?
Hang a heavy mirror at a height that suits the room and what it reflects. Above a console, leave useful clearance for objects on the surface. For a collectible mirror, eye height on a bare wall can work well. Use a paper template first so you can judge the position without lifting the real mirror.
Do I need two people to hang a heavy mirror?
Yes, two people should hang a heavy mirror. One person can guide the D-rings, wire, or cleat while the other supports the frame. Lift from the sides and protect the face on a padded surface. If the mirror is very heavy, fragile, or mounted on a weak wall, use a qualified installer.
Conclusion
Choose the fixing from the wall and the measured weight, then give the frame a careful inspection before you drill. For a one-of-one hand-painted mirror from Pilardi, take the same care you would with a framed artwork: use solid support, lift with help, and keep the finished piece away from knocks and steam. If you're still deciding where a mirror should sit, explore Pilardi's collection of hand-painted decorative mirrors before you mark the wall.


