
Guides
How to Organize a Jewelry Box in 5 Steps

A crowded jewelry box hides the pieces you love and gives chains a chance to knot. I use a five-step reset: empty the box, sort each piece, match it to a safe space, then arrange the contents around daily use.
The same method works for a small personal collection or a group of one-of-a-kind pieces. It also helps you see when your current box no longer fits the way you actually live.
Step 1: Empty Your Jewelry Box and Assess Every Piece
To learn how to organize a jewelry box, start with a clear surface and an empty box. Organization begins when each item has a known place, rather than when you start moving pieces from one crowded compartment to another.
Cover a table with a clean, soft cloth. Work away from sinks, vents, open windows, and pets. Small backs and loose stones are easy to lose. Keep a shallow dish nearby for fasteners, but don't leave valuable pieces in it overnight.
Take everything out. Set the jewelry box aside so you can inspect it without using its old layout as a guide. Check the lining for dust, grit, loose threads, or rough spots that could catch a chain.
Now inspect every item once. Make four temporary groups:
- Wear now: pieces you reach for often.
- Wear later: pieces for events, travel, or a specific season.
- Repair or clean: items with loose clasps, missing backs, or marks that need attention.
- Keep apart: delicate pieces that need their own pouch or flat space.
Don't force a decision about a piece you can't identify. Put it in a small labeled envelope until you can check its material or history. For a collectible item, record its maker, origin, date of purchase, and any care notes you already have.
Organizing means arranging things so they are easier to find and use. That is the test here. If a system looks neat but makes you dig for your daily earrings, it isn't working.
By now, you should have a clean box, a clear work area, and a short list of pieces that need repair or special care. Don't put anything back yet.
Step 2: Sort Jewelry by Type, Frequency, and Fragility
Sorting is the part that makes a jewelry box easy to use. Group pieces first by type, then place the pieces you wear most near the front or top.
Lay each group in its own area. Keep necklaces apart from bracelets at first. Rings need shallow, stable spaces. Earrings need paired storage, while brooches and pins need room for their backs.
Next, add a frequency check. Ask yourself when you wore each piece last. You don't need a strict rule. A simple “most days,” “sometimes,” and “rarely” split is enough.
Place daily pieces where your hand goes first. Put occasion pieces behind them or in a lower drawer. Store sentimental pieces where they stay protected, even if you don't wear them often.
Then sort by fragility. A smooth metal chain can share a broad group with other chains, but it still needs separation to prevent knots. A piece with raised decoration, a painted surface, or a soft stone needs more space.
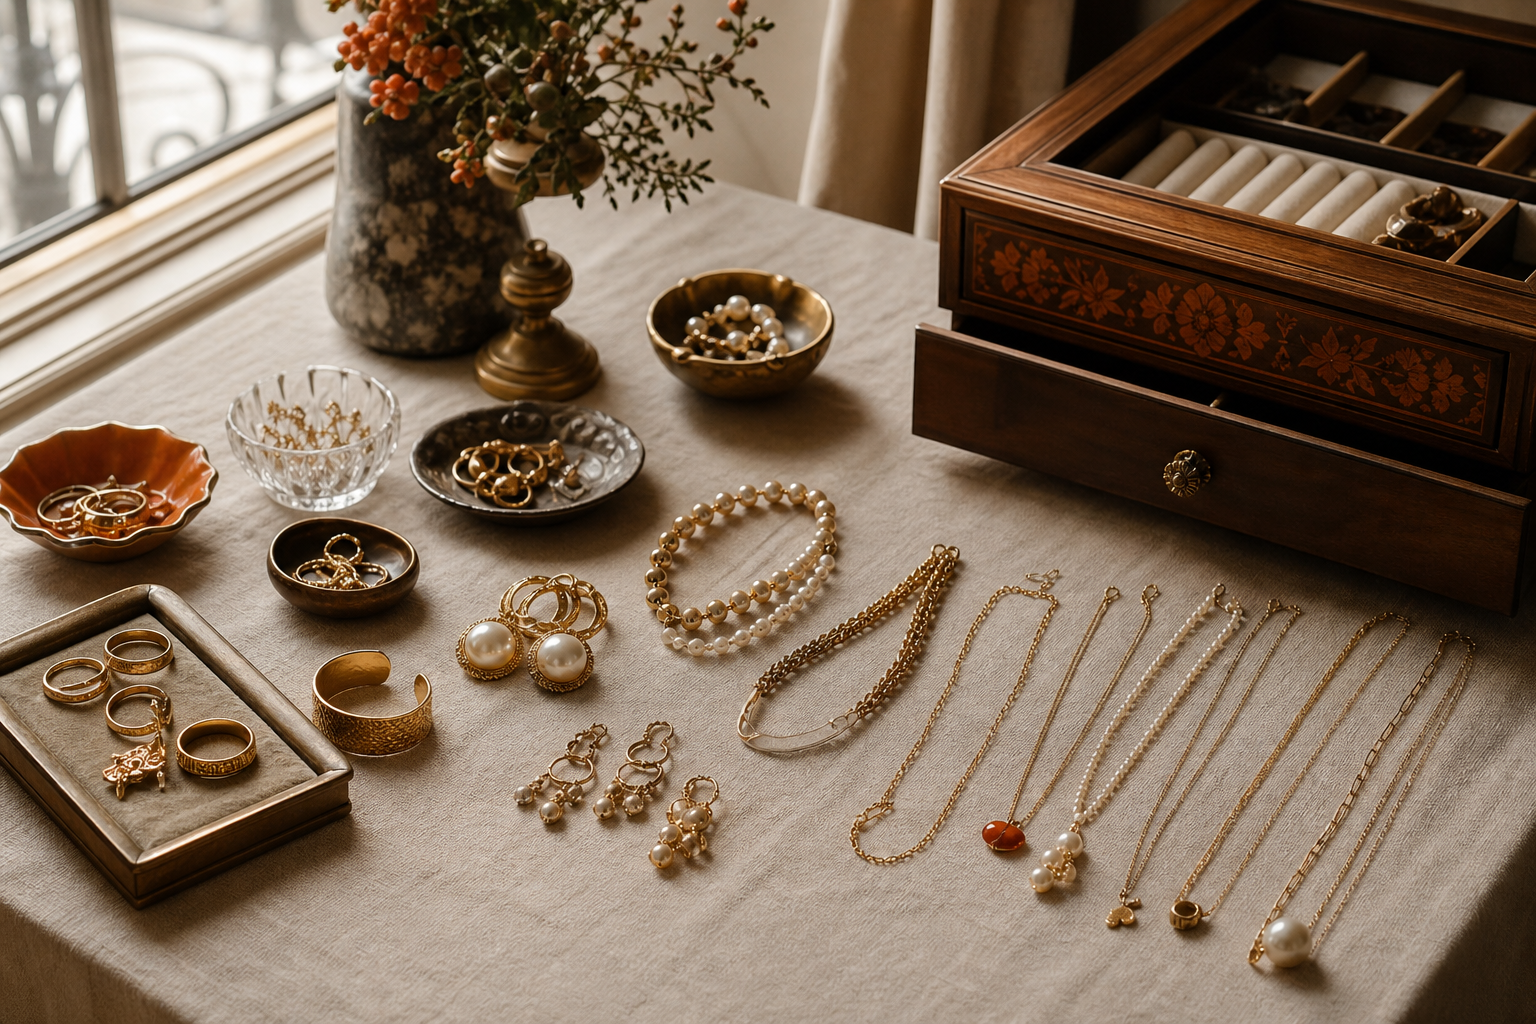
For a small collection, one box may hold everything. A larger collection may need a daily tray plus a protected keepsake box. I often prefer that split because it keeps daily handling away from pieces that are meant to be displayed or saved.
Think about the shape of the jewelry, not only its label. A wide cuff needs a different home from a thin chain. A pendant with a raised setting needs clearance above it. Sort by what could rub, press, or snag.
By now, you should have groups based on type, use, and fragility. The next step is to give each group a fixed place.
Step 3: Assign Each Piece a Compartment or Protective Pouch
The best jewelry box layout gives every piece enough room to rest without pressing against its neighbor. Match the storage space to the item before you worry about making the box look full.
Start with the largest pieces. Place them in the box without stacking. Check the lid before you close it. A piece that touches the lid may bend, scratch, or leave a mark over time.
Give rings a row or a small compartment. If the slots are too wide, add a soft divider so rings don't tip onto their sides. Keep rings with raised stones away from flat pieces that could catch on them.
For earrings, pair each set before placing it in storage. Use a small compartment for the posts and backs. If the box has no earring section, a soft card with two tiny holes can keep a pair together, as long as the card doesn't snag the metal.
Necklaces need the most care. Lay short chains flat in separate sections. For a long chain, fasten the clasp before placing it in a pouch. Leave the pendant outside the chain loop as you close the pouch. This takes a few seconds and can prevent a frustrating knot.
Bracelets can rest flat if they are rigid or heavily textured. Flexible bracelets need a longer section. Don't pack them beneath rings, since weight and movement can press into the surface.
If your current box has no useful compartments, use removable trays or soft pouches rather than filling every gap. A box with fewer pieces in each section is easier to maintain. It also lets you lift one group without disturbing the rest.
Labeling can help with a collection that includes many similar pieces. Use a small written label on the outside of a pouch, or take a quick photo of a set before storing it. The photo is useful when an item has sentimental value or belongs to a matching group.
For a collector who wants storage to feel like part of the room, Pilardi's handcrafted keepsake boxes bring storage into the display. Each Pilardi piece is one-of-one, handcrafted by artisans in Isfahan, then curated and shipped from Paris. I see these boxes as a good fit for jewelry that deserves a visible place between uses.
Don't buy a larger box just because it has more sections. Measure your longest necklace, widest bracelet, and tallest ring first. Storage should fit the collection you own, not an imagined future collection.
By now, each piece should have a proposed compartment or pouch. Leave the delicate items out for one more check.
Step 4: Protect Delicate, Textured, and Gemstone Jewelry
Good jewelry box organization protects surfaces as well as shapes. Delicate pieces need separation, low friction, and a place away from damp rooms or strong heat.
Start with the lining. Run a clean fingertip over each compartment. If you feel grit, a rough seam, or a loose thread, don't store jewelry there until you fix it. A soft pouch is safer than a damaged slot.
Keep textured pieces apart from smooth ones. Khatam-kari, for example, uses fine slivers of wood, brass, and bone arranged into geometric star patterns. A raised or detailed surface should not rub against a polished piece during daily handling.
Hand-painted surfaces also need room. Don't place a painted pendant face down against a hard divider. Use a soft pouch, then set the pouch flat so the painted area isn't under pressure.
Gemstone jewelry deserves the same caution. If you don't know how a stone should be cleaned, avoid water, heat, and household chemicals until you can confirm the right method. Use a dry, soft cloth only when the item's care instructions allow it.
Tarnish is a surface reaction that can affect some metals. The Wikipedia explanation of tarnish describes it as discoloration caused by a chemical reaction at the metal's surface. You can reduce exposure by keeping jewelry dry and enclosed, but don't seal damp pieces inside a pouch.
Before storage, let a piece cool after wear. Wipe away skin oil with a suitable cloth. Close clasps on chains. Then place each item in its assigned space.
- Keep jewelry away from bathroom steam.
- Don't store damp pieces in sealed pouches.
- Keep soft surfaces away from rough metal edges.
- Store very fine chains flat rather than under other jewelry.
- Check care notes before cleaning stones or painted details.
Airflow matters too. Don't pack a drawer so tightly that pouches bend or press into each other. If you use an anti-tarnish insert, follow its instructions and replace it when it is no longer effective. Specialty preservation tools can help, but they don't fix poor storage habits.
I also suggest keeping a simple care note with pieces that need special handling. Write down what you know. “Dry cloth only” is more useful than a vague promise to remember later.
A careful system may leave empty space. That is fine. Empty space is what keeps a textured surface from being crushed by the piece beside it.
Step 5: Arrange the Box for Daily Use and Long-Term Collection
The final step in how to organize a jewelry box is to arrange it around your real routine. Put the pieces you reach for first in the easiest place to see and return.
Open the box as you normally do. Notice where your eyes land. Use that area for daily rings, earrings, or a short chain. Keep special pieces farther back only if they stay protected and remain easy to retrieve.
Try a simple two-zone layout:
- Front zone: pieces worn several times a week.
- Middle zone: pieces worn for dinners, work events, or travel.
- Protected zone: heirlooms, gifts, and collectible pieces.
Don't let the daily zone become a catch-all. After wearing a piece, return it to its marked place. If you remove jewelry at night, place a small temporary dish beside the box. Empty that dish each morning.
For a larger collection, use a daily tray outside the main box. Keep only the current rotation there. A tray can reduce repeated handling of stored pieces, but it should stay away from direct sun, water, and busy edges of a dresser.
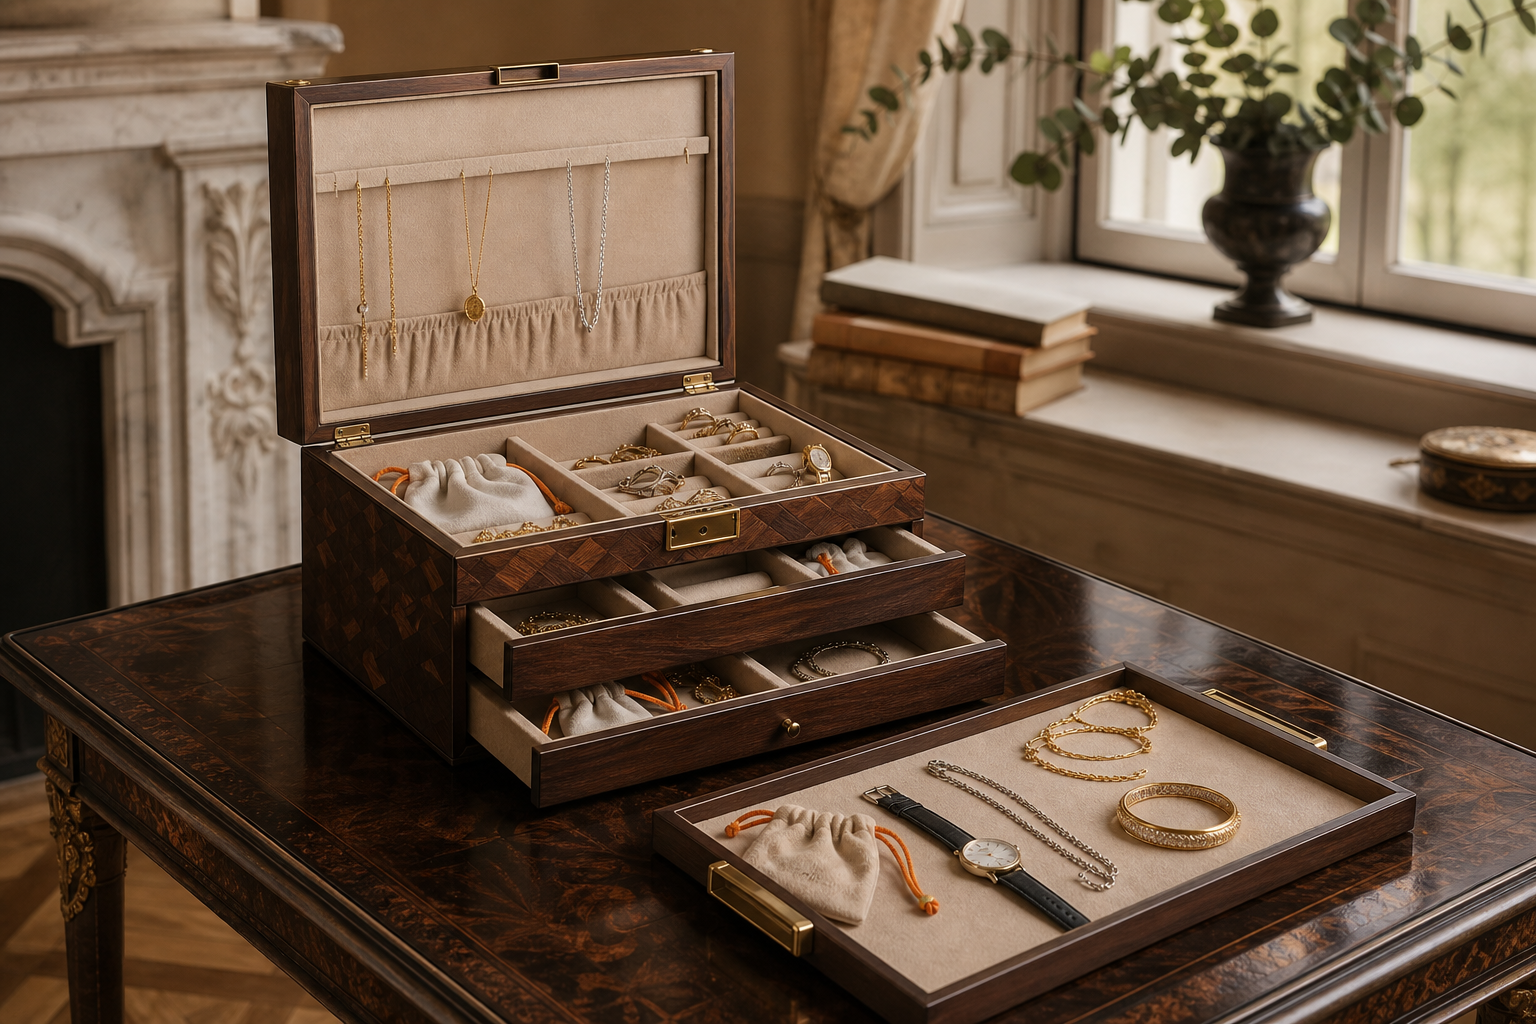
A handcrafted box can make this routine feel deliberate. At Pilardi, I curate one-of-one objects made by artisans in Isfahan for people who want their storage to carry the same care as the pieces inside it. A hand-painted or khatam-kari box can sit on a dresser as a useful object, then move into a display setting when you want the collection to be seen.
Before you close the box, lift the lid slowly. Check that no chain hangs over an edge. Make sure the lining isn't folded beneath a ring. Then take one photo of the finished layout. It becomes a quick reference when you need to put everything back after cleaning.
Review the arrangement after a week. If you keep skipping one compartment, move that group. The right layout is the one you can maintain without thought.
FAQ: Organizing a Jewelry Box
How do I organize a jewelry box without tangling necklaces?
Store each necklace in its own flat section or soft pouch. Fasten the clasp before storage, then keep the pendant outside the chain loop as you close the pouch. Long necklaces need more room than short chains. Never place several loose chains in one deep compartment, even if the box looks tidy at first.
What should go in the top compartment of a jewelry box?
Put the jewelry you wear most often in the top compartment. Daily earrings, rings, and short chains should be visible without moving other pieces. Keep bulky or delicate jewelry elsewhere if the top section makes the lid press against it. A top compartment is useful only when it matches your routine.
How do you organize jewelry by type?
Group jewelry by type first, then split each group by use and fragility. Keep rings in shallow slots, earrings in paired sections, and bracelets in longer compartments. Store necklaces flat or separately. When a piece has a textured or painted surface, give it a pouch instead of placing it beside smooth metal.
How do you keep jewelry from tarnishing in a jewelry box?
Keep jewelry dry, clean it only as directed, and store pieces with enough separation for air to move around them. Don't put damp jewelry into a sealed pouch. Keep the box away from bathroom steam and heat. Anti-tarnish materials may help, but they work best alongside dry storage and regular checks.
When should I replace my jewelry box?
Replace or change the setup when the lining is rough, the lid presses on stored pieces, or you must move several items to reach one. You may not need a new box. A tray, divider, or separate keepsake box can solve the problem. Choose a new box only after measuring the largest pieces in your collection.
Conclusion
Organize your jewelry box around shape, frequency, and care needs, then keep daily pieces within easy reach. Start with one empty table and finish with a photo of the new layout. If you want storage that can also sit comfortably in a room, explore Pilardi's handmade wooden jewelry box with miniature artwork as you decide what kind of home your collection deserves.


