
Guides
How to Set Up a Backgammon Board

One misplaced checker can change the shape of an entire backgammon game. And before the first roll, board direction causes more confusion than most new players expect. I’ll show you how to set up a backgammon board in five clear steps, with the standard checker pattern, point numbers, the bar, and the first rules to remember.
Step 1: Orient the Board and Identify the 24 Points
The first step in learning how to set up a backgammon board is to place it in a clear position and agree on each player’s point numbers.
Open the board between the two players. The raised strip down the middle is the bar. On each side of the bar, you’ll see six long triangles. These triangles are called points. Six points in one quarter make a quadrant, so the full board has 24 points.
Each player sees the numbers from their own side. Your home board contains points 1 through 6. Your outer board contains points 7 through 12. Across the bar, the opponent’s outer board contains points 13 through 18. The far side of the opponent’s home board contains points 19 through 24.
The key detail is that players use opposite numbering systems. Your 1-point is your opponent’s 24-point. Your 6-point is your opponent’s 19-point. This is why a board can look correct to one player while seeming backwards to the other.
For a text reference on the board’s parts and the 24-point numbering system, see this reference. I recommend saying the numbers out loud before placing any checkers. It takes a few seconds and prevents most setup errors.
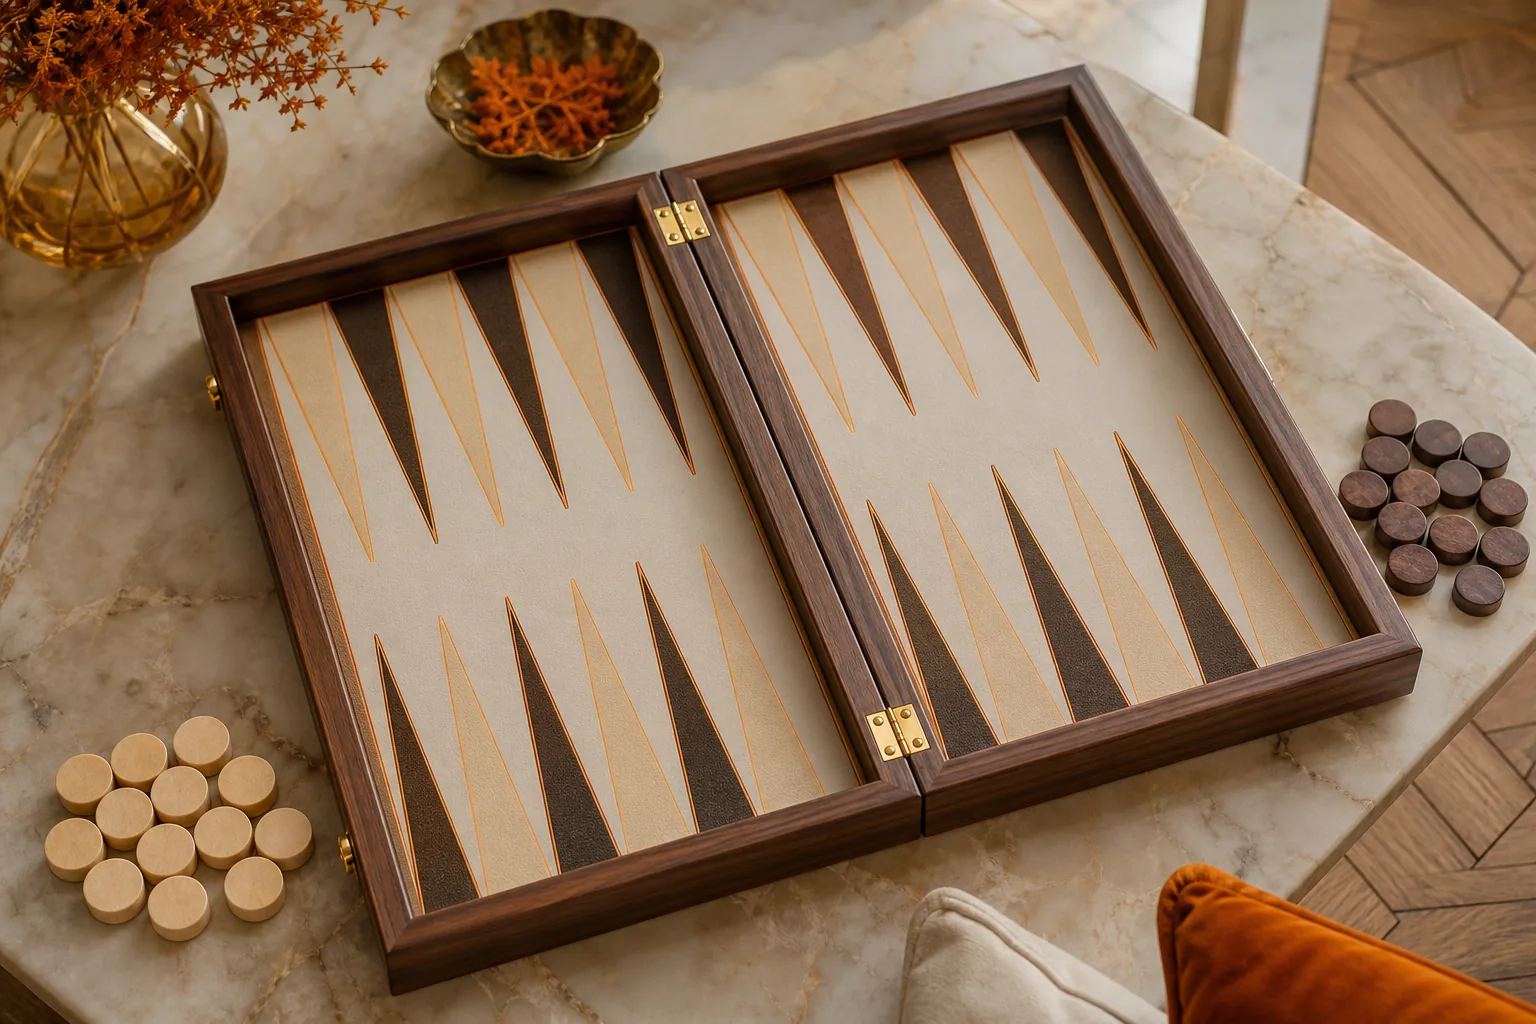
Look for a shared visual anchor. Many players use the bar as the center, then count six points toward each corner. The colors of the triangles may help you count, but they don't replace the numbering system.
By now, the board should be open, centered, and easy for both players to read.
Step 2: Gather the Equipment and Place the Checkers
To set up a backgammon board, you need the board itself, 30 checkers, two dice, and two distinct checker colors.
Each player gets 15 checkers. A standard set also has a dice cup for each player. A doubling cube is optional for casual games, but it belongs with the usual equipment for games that use doubling.
Now use the four-number pattern for one player:
- Place 2 checkers on the 24-point.
- Place 5 checkers on the 13-point.
- Place 3 checkers on the 8-point.
- Place 5 checkers on the 6-point.
That uses all 15 checkers. The numbers add up to 15, which gives you a quick check: 2 + 5 + 3 + 5.
The opponent places the same pattern as a mirror image. Their 24-point is on the opposite side from yours. Their 13-point faces your 12-point. Their 8-point faces your 17-point. Their 6-point faces your 19-point.
Do not place both colors on the same point at the start. The stacks should sit on separate points. If a stack looks crowded, keep the checkers in a neat vertical column. They may overlap within their own stack during play, but the opening layout should be easy to count.
If you prefer a board that arrives ready for play and display, Pilardi’s available chess and backgammon sets use this same standard layout. I curate each Pilardi piece in Paris after specialist artisans handcraft it. Khatam-kari uses small slivers of wood, brass, and bone assembled into geometric star patterns, so the board can hold its place in a room when the game is over.
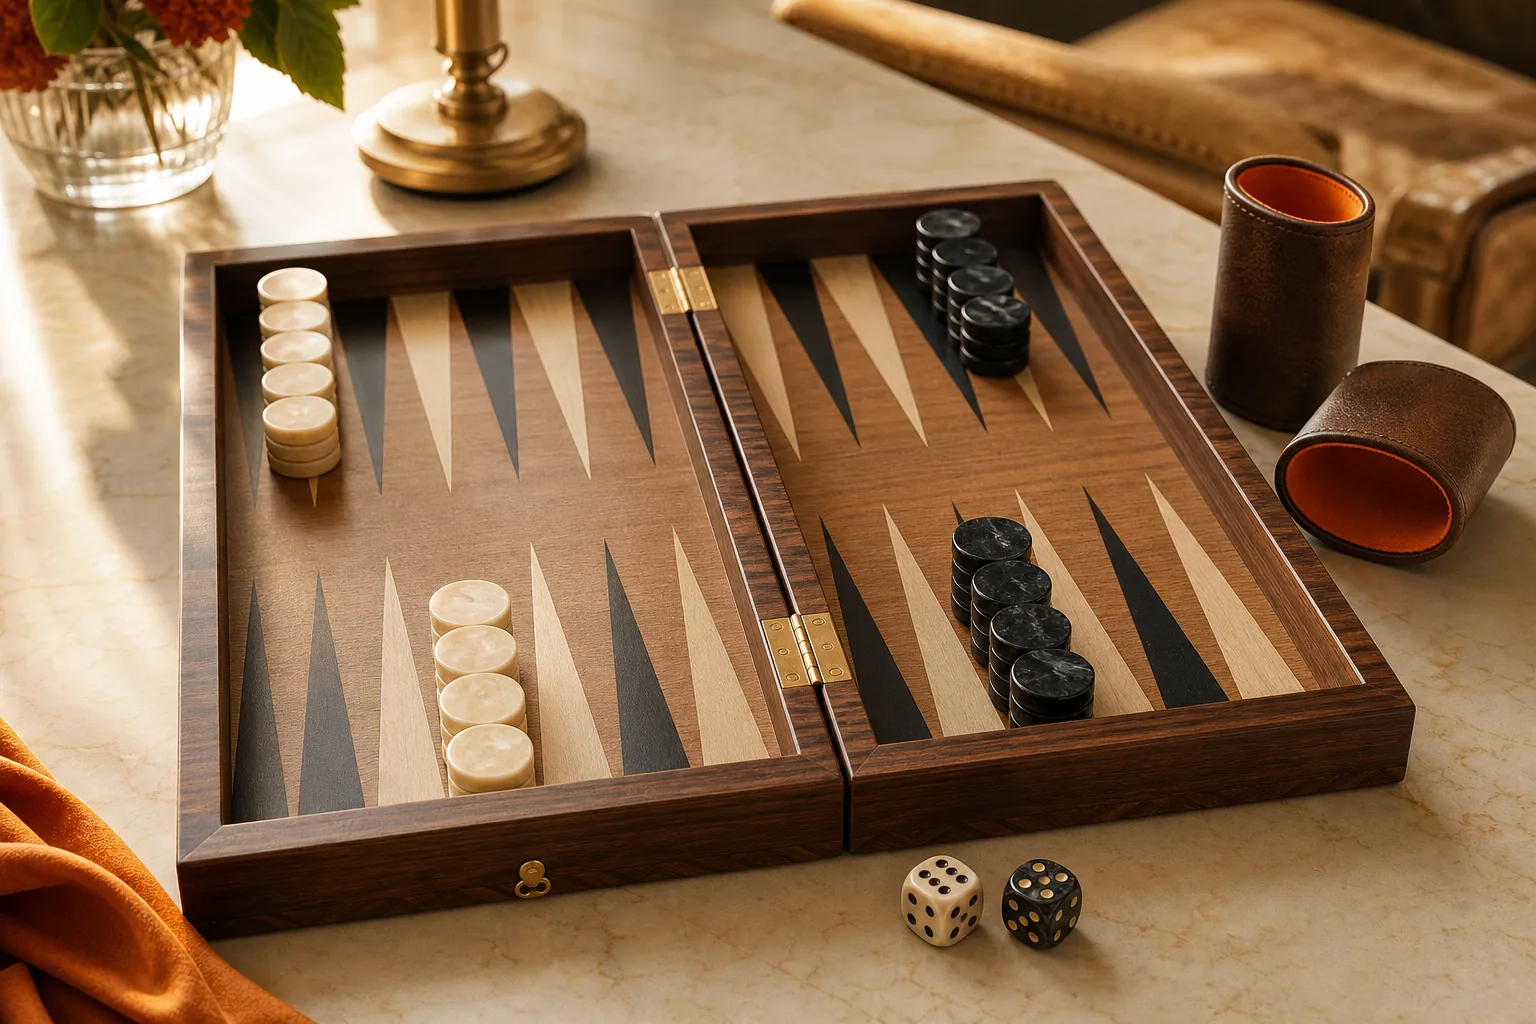
Count each color after placing it. You should see four stacks for each player. A common mistake is to remember only the two checkers on the 24-point and the five on the 6-point. The middle stacks matter just as much.
Some video lessons show the setup as rows and mirror images. That can help when you have a board in front of you, but it can also hide the point numbers. Use the numbered pattern first. Use the visual mirror as a second check.
By now, both players should have 15 checkers on the board, with four stacks per color and no mixed opening points.
Step 3: Confirm Each Player’s Direction and the Bar
The third part of how to set up a backgammon board is to confirm which way each player moves. This small check stops illegal moves before they start.
Each player moves from the higher-numbered points toward the lower-numbered points. You move from 24 toward 1. Your opponent moves from their 24 toward their 1. Because players face each other, one player travels clockwise while the other travels counterclockwise.
Place a finger on your 24-point. Trace the route toward your 1-point. Then ask your opponent to trace their own route. Both players should end at their own home board, which is the six-point area nearest their finishing side.
The bar is the raised center strip. It is not a playing point. During the game, a checker that gets hit moves to the bar. A player with a checker on the bar must re-enter that checker before moving any checker elsewhere.
To re-enter, use a die number to enter the opponent’s home board. The die value points to the matching entry point. If that entry point is blocked by two or more opposing checkers, the checker cannot enter there.
If both entry points are blocked, the player loses the turn. If only one entry point is open, the player must enter there when the roll allows it. The bar, the home board, and the opening roll are standard parts of play.
For a physical board, I like to leave the bar fully visible rather than cover it with cups or spare pieces. On a Pilardi board, the center divide is part of the board’s working design, not empty decoration. Keep it clear.
By now, both players should know their route, their home board, and the place where hit checkers go.
Step 4: Learn What Happens After Setup, Moves, Hits, and Bearing Off
Once you know how to set up a backgammon board, the next task is to understand what the first roll will do.
To decide who starts, each player rolls one die. The higher number goes first. If the roll ties, both players roll again. The player who wins uses the two numbers already shown for the first move, rather than rolling both dice again.
On each turn, roll two dice. Each number gives a move. You may move two checkers, or use both numbers on one checker if each part of the route is legal.
For example, a roll of 5 and 2 can move one checker five points and another two points. It can also move one checker two points, then five more. The intermediate landing point must be open. You cannot jump over a blocked point when the move requires a stop there.
Doubles give four moves instead of two. A roll of 3 and 3 gives four moves of three points. You may split those four moves across several checkers, as long as every move is legal.
Blocked points and blots
A point with two or more opposing checkers is blocked. You cannot land there. A point with one opposing checker is called a blot. If you land on that blot, you hit it and send the checker to the bar.
This is where the opening setup becomes a live game. A single checker can move quickly, but it can also be exposed. Two or more checkers together make a point that your opponent cannot enter. Several joined points in a row form a prime, which can slow an opponent’s route.
Do not chase every blot. A hit may leave your own checker exposed to the next roll. First check whether your landing point can be hit in return.
Bearing off
Bearing off means removing your checkers from the board. You may begin only after all 15 of your checkers have reached your home board, the six points nearest your finishing side.
Use the dice to remove checkers from matching points. If you roll a 4, you can bear off a checker on the 4-point. A higher roll may remove a checker from a lower point when no checker sits on a higher point. If one of your checkers gets hit while bearing off, it returns to the bar. You must re-enter it and bring it back to your home board before bearing off again.
The first player to remove all 15 checkers wins. That is the full path: move toward home, manage hits, reach the home board, then bear off.
A collectible board adds a second layer to the ritual. I make Pilardi pieces for play, display, gifting, or collecting, so the setup should feel clear enough for a first game and considered enough for a room.
Step 5: Complete a Final Setup Check Before the First Roll
A final check takes less than a minute and catches nearly every setup mistake.
- Confirm that each player has 15 checkers.
- Check for four stacks per color.
- Count the stacks as 2, 5, 3, and 5.
- Make sure the stacks sit on the 24, 13, 8, and 6 points.
- Confirm that the colors mirror each other.
- Keep the bar clear.
- Trace both movement routes from 24 toward 1.
- Place the dice and cups beside the board.
Do not rely only on the shape of the stacks. A mirrored mistake still looks neat. Count the point numbers instead.
If the board is a handcrafted object, give it a stable surface with enough room for both players to move pieces. Pilardi boards are made by specialist artisans, then curated and shipped from Paris. I prefer to keep the board away from direct sun, heat, and standing moisture between games.
For a new home or a game table in a refined sitting room, the board can remain part of the setting after play. A real estate professional can work with buyers who may care about how a room supports both daily life and home entertaining. A well-placed board needs calm space around it, not a crowded shelf.
FAQ
What is the correct backgammon setup?
The correct backgammon setup uses four stacks for each player: 2 checkers on the 24-point, 5 on the 13-point, 3 on the 8-point, and 5 on the 6-point. The opponent mirrors that pattern with a different color. This is the standard arrangement to use when you set up a backgammon board.
Which way do checkers move in backgammon?
Checkers move from higher numbers toward lower numbers, from 24 toward 1 for each player. Because players face each other, one player moves clockwise and the other moves counterclockwise. Before the first roll, each player should trace their own route from the 24-point to the 1-point.
What is the bar used for in backgammon?
The bar is the raised strip in the middle of the board where hit checkers go. A player with a checker on the bar must re-enter it before moving another checker. The checker enters through the opponent’s home board, using a die number that matches an open entry point.
Can you set up a backgammon board differently?
You can change the board’s facing direction and still play the standard game, as long as both players mirror the same pattern and agree on their routes. You should not change the checker distribution for a normal game. Keep the 2, 5, 3, 5 pattern unless you are playing a named variant with different rules.
When can you start bearing off in backgammon?
You can start bearing off only when all 15 of your checkers are inside your home board. Use the dice to remove checkers from the matching points. If a checker is hit while you bear off, you must re-enter it and bring it back home before removing more checkers.
Conclusion
Use the numbered 2, 5, 3, 5 pattern, then check the mirror image and movement direction before rolling. Once the board is correct, play a few turns slowly and say each point number aloud. If you’re choosing a board for both play and display, explore Pilardi’s handcrafted chess and backgammon collection and select the piece that fits your table and collection.


