
Guides
How to Make a Handmade Chess Set

A handmade chess set starts long before the first move. The wood, square size, piece shape, and finish must work together. I’ll take you from raw stock to a finished set, with choices for a small home project and a more detailed collector’s board.
If you want the look without building every part yourself, Pilardi’s one-of-one chess and backgammon boards show how Persian craft can bring a game set into a refined interior.
Step 1: Choose Suitable Wood and Materials
Your first task is to choose wood that can hold clean edges and fine detail. For a handmade chess set, I’d start with two woods for the board and one or two woods for the pieces.
Walnut and maple make a clear pair. Walnut gives you a deep brown field, while maple keeps the light squares bright. Cherry brings a warmer red tone. Boxwood and ebony are traditional choices for detailed pieces because both are dense and can hold crisp shapes. You can compare common luxury piece woods through this chess piece collection.
For a first build, choose straight, dry boards without twists, deep checks, or loose knots. A board that looks flat at the lumber shop can move after you cut it. Let the wood rest in your workshop before milling it, especially if the shop is much warmer or drier than the place where you bought it.
Use matching thickness for the light and dark strips. If one wood is much softer than the other, its edges may dent during glue-up or sanding. That difference becomes clear every time a piece slides across the board.
Materials for the board
- Two contrasting hardwoods for the playing field.
- A stable plywood backing if the board is thin.
- Hardwood for the outer frame.
- Wood glue rated for interior woodworking.
- Sandpaper, clamps, a straightedge, and a reliable square.
- Optional brass strip, veneer, or thin inlay stock for the border.
Reclaimed wood can work well, but inspect it for nails, staples, stains, and hidden cracks. Reclaimed boards also need extra time to settle. If you want a lower-impact build, choose local stock when possible and ask the seller how it was dried. An eco-focused chess-set guide also points buyers toward reclaimed wood and finishes with fewer harsh solvents, but check each product label before use.
Persian khatam-kari follows a different path. It uses thousands of small slivers of wood, brass, and bone assembled into geometric star patterns. That process is far beyond a basic strip-glued board. Pilardi’s luxury chess and backgammon board collection is useful reference material if you want to study that level of surface work before starting your own project.
Milestone: By now, you should have dry, straight stock and a clear plan for the board’s two colors, frame, and finish.
Step 2: Set Board, Square, and Piece Dimensions
Good proportions make a handmade chess set feel calm and easy to play. Set the square size before you cut anything, then let that number control the board and pieces.
A standard board has eight squares across. If each square is 2 inches wide, the playing field is 16 inches square. A 2.5-inch square gives you a 20-inch playing field. Add the frame after that. A 3-inch frame around a 20-inch playing field produces a board about 26 inches wide, before final trimming.
Those numbers are examples, not rules. The right size depends on the room, the storage plan, and the pieces you want to make. Measure the tallest piece first. The king should sit comfortably inside one square without making the board feel crowded.
Piece height should rise in clear steps. The king is tallest. The queen sits just below it. Bishops, knights, rooks, and pawns should each have a distinct profile. A set can use any style, but players must identify each piece at a glance. Height and base diameter affect a set’s scale.
Base diameter matters as much as height. A tall, narrow king can tip when a player brushes the board. A wide base feels steady, but it can crowd nearby pieces. Before shaping all 32 pieces, make one pawn, one rook, one bishop, one knight, one queen, and one king from scrap wood.
Place those test pieces on the planned board. Move them as if you were playing. Check whether two pawns fit side by side. Check whether a knight’s head reaches into the next square. This small test can save many hours of carving.
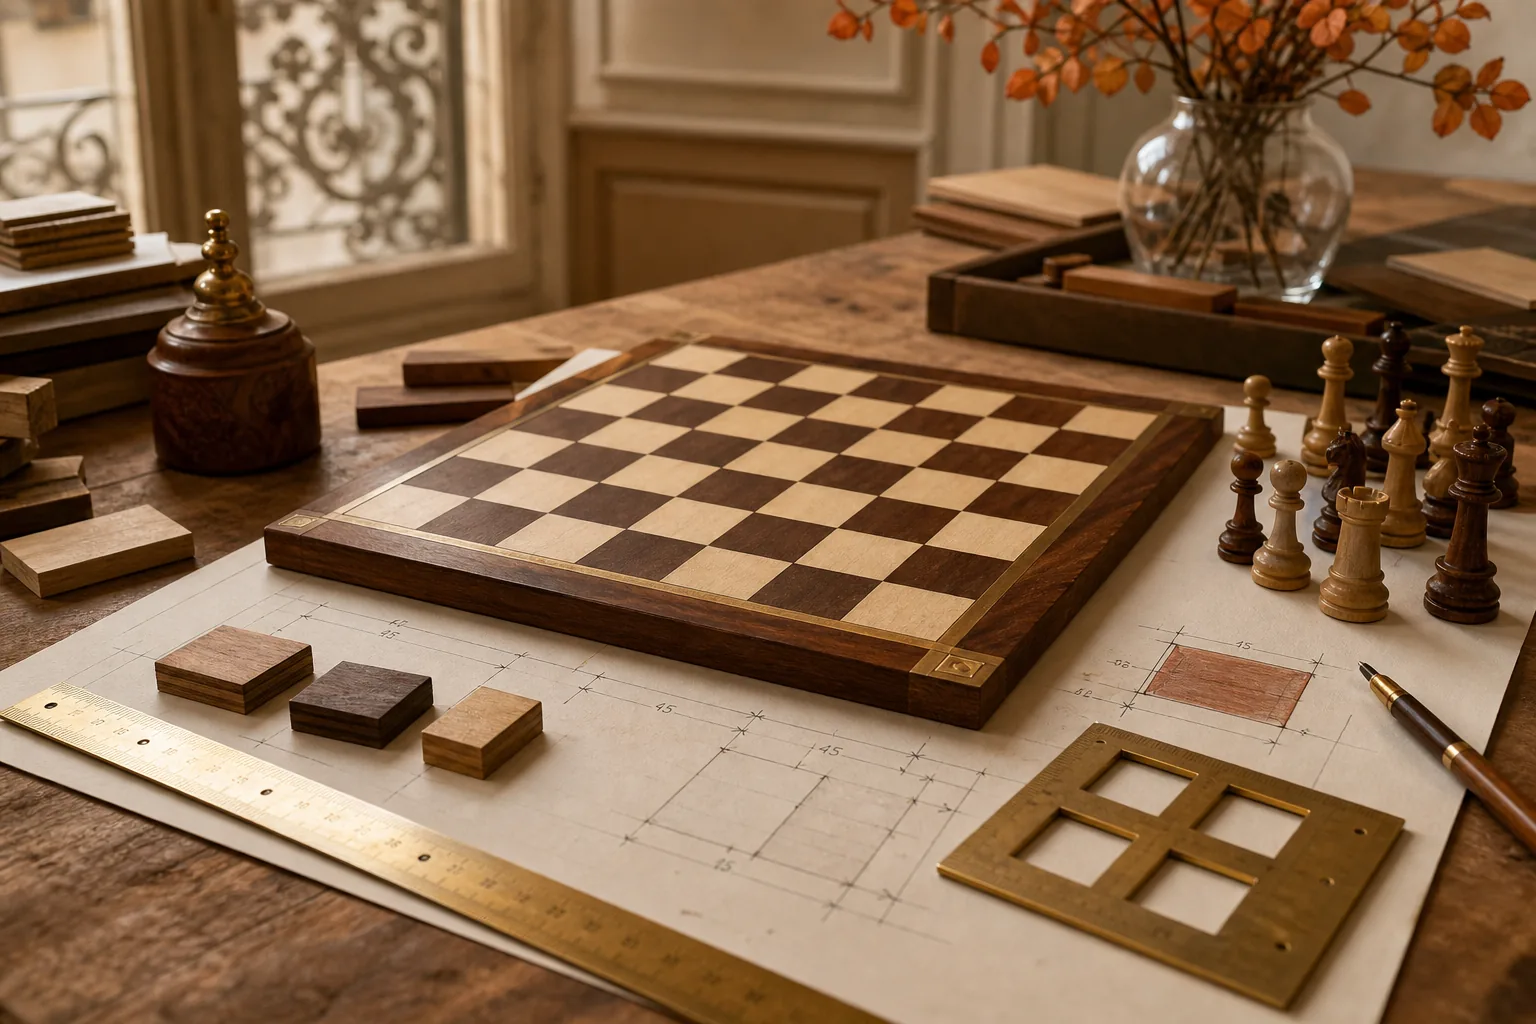
Make a dimension plan
- Write down the square width.
- Multiply it by eight for the playing field.
- Add the frame width on both sides.
- Set the king height and the base diameter.
- Scale the other pieces against the king.
- Allow extra stock for saw kerf and final sanding.
Keep a full-size sketch beside the lathe or carving bench. Mark the height of each turning zone. When you repeat a shape 16 or 32 times, a small mistake can become a visible mismatch.
Milestone: You should now have a board size, a square size, and a piece chart that you can follow without guessing.
Step 3: Prepare the Workshop and Shape the Board
A clean setup makes board work much safer. Clear the bench before you cut strips, and keep clamps within reach before spreading glue.
For a basic board, you may need a table saw or circular saw with a straightedge, a planer or hand plane, a router or sanding block, clamps, a square, and a sharp chisel. A jointer helps with straight edges, but it isn’t required. You can use a router table or careful hand-plane work instead.
Wear eye protection during every cut. Keep loose sleeves and hair away from spinning tools. Use push blocks near the blade, and unplug machines before changing blades or bits. Small boards are hard to control, so make a larger carrier or use a safe jig when the stock gets short.
Cut and glue the playing field
Mill the light and dark boards to the same thickness. Cut strips to the width of your chosen squares. Make two outside strips slightly wider than the rest. You’ll trim them after the first glue-up.
Lay the strips in an alternating pattern. Mark the order with pencil on the underside. Apply a thin, even coat of glue to each joint. Too much glue creates a slippery mess and adds sanding work. Too little glue leaves gaps.
Place waxed paper or packing-tape-covered cauls across the panel. They spread pressure and stop the cauls from sticking. Tighten clamps in stages. The strips should meet without bowing upward.
Let the panel cure as directed on the glue label. Then remove squeeze-out with a chisel while it is firm but not rock hard. Flatten the panel with a planer, drum sander, or hand sanding. Work slowly. The goal is a flat face, not the thinnest board you can make.
Form the checker pattern
Square one edge. Set the fence using the same measurement as the first cut, then slice the panel into strips. Flip every other strip and place them side by side. The checker pattern should appear before the second glue-up.
Spend time matching the lines. Once glue sets, you can’t shift a row without cutting it apart. After the second cure, flatten the top again. Add a stable backing if the playing field is thin or likely to move. A plywood layer can reduce movement, but glue both surfaces evenly and keep the panel flat under pressure.
Trim the board square only after the field is stable. Add the frame after that. Leave a small amount of extra material for final sanding.
A brass border is best planned early. Cut a shallow channel or rabbet for the strip. Brass can be cut with care, but it scratches easily. Tape protects the surface while you fit the miters. If the frame has continuous grain, label each piece before cutting.
Milestone: The board should now be flat, square, and ready for its frame or decorative border.
Step 4: Carve, Turn, and Balance the Chess Pieces
Piece making takes more repetition than board making. A handmade chess set needs 32 pieces, with 16 on each side, so consistency matters.
Choose wood that suits your tools. Soft wood cuts quickly but may crush at thin edges. Dense wood holds detail but demands sharp tools and a slower feed. For turned pieces, begin with square blanks. Mount the blank between centers, true the cylinder, then move it into a chuck if your design needs support from one end.
Start with the king. Mark the height, base, stem, collar, head, and top detail on the blank. Remove large amounts of waste first. Shape the base before the narrow middle sections. Use a skew chisel for crisp beads and a scraper for rounded transitions.
Thin beads and unsupported edges can catch the tool. Keep your hands firm, your tool rest close, and the cutting edge supported. Stop often to compare the piece with your drawing. Do not chase a perfect curve by taking one last heavy cut. That is how a nearly finished piece becomes firewood.
Carve the knights
Knights often need hand carving after the main turning work. Turn or shape the base first. Then mark the head profile on two sides. Remove waste in small cuts and keep the front planes balanced.
Make one finished sample of each type before producing pairs. The second bishop should match the first bishop. The two knights can mirror each other, but they should share the same height and base diameter.
Sand the turned pieces through a steady range of grits. Remove deep tool marks before moving to fine paper. Sanding a thin collar too much will change the design, so measure the base and compare it with the sample.
Add weight to the bases
Weighted bases make pieces less likely to tip. Flatten the underside on a disc sander or with a sanding block. Use a Forstner bit to cut a centered recess. The recess should be deep enough for the metal insert, while leaving enough wood above it.
Test the insert before gluing. It must sit below the base surface. Use a suitable adhesive, then cover the underside with felt or thin leather. The covering protects the board and hides the recess.
Balance each piece on a flat board before the glue sets. If it rocks, fix the base at once. A small wobble becomes annoying during play and is harder to correct after the finish goes on.
Pilardi takes a different approach through hand-finished Persian game boards. The Khatam Chess & Backgammon Set, Black Edition shows how a board can carry the visual weight while the pieces remain part of a larger display object.
Milestone: You should have one complete sample of every piece type, plus a repeatable method for shaping, weighting, and covering each base.
Step 5: Apply Finishes and Decorative Details
Finish samples before you finish the set. The same oil or stain can look very different on walnut, maple, cherry, or a pale carving wood.
Sand the sample through your chosen grit range. Remove dust with a clean, dry cloth. Apply a thin coat of finish and watch how the grain changes. Danish oil can add a warm, low-sheen look. Boiled linseed oil can deepen the tone and may yellow as it ages. Stain can shift the two sides into stronger contrast, but it can also hide fine carved detail.
Follow the label for ventilation, cloth disposal, and cure time. Oil-soaked rags can heat up and catch fire when left crumpled. Lay them flat to dry outdoors where permitted, or place them in the approved container for your area.
Wax can add a soft surface sheen after the base finish cures. Buff by hand or with a low-speed wheel. Do not rush. Heat from aggressive buffing can soften wax or mark a thin edge.
Add decorative details
Engraved initials work best on the frame or underside. Draw the layout first. Make shallow test cuts on scrap from the same board. Gold leaf or metallic fill needs a clean recess and a calm hand. Seal the surrounding wood before filling the detail, then remove excess from the surface with care.
A brass border changes the board’s feel. It adds a sharp line between the playing field and the frame. Fit the brass before the final polish, because sanding can lower the wood beside it. Protect the metal with tape while you level the surface.
Hand-painted accents can work on carved pieces, but keep the design clear enough for play. Paint only after the wood is smooth and dust-free. Test the color beside the board. A bright red piece may look fine alone but overpower a dark walnut field.
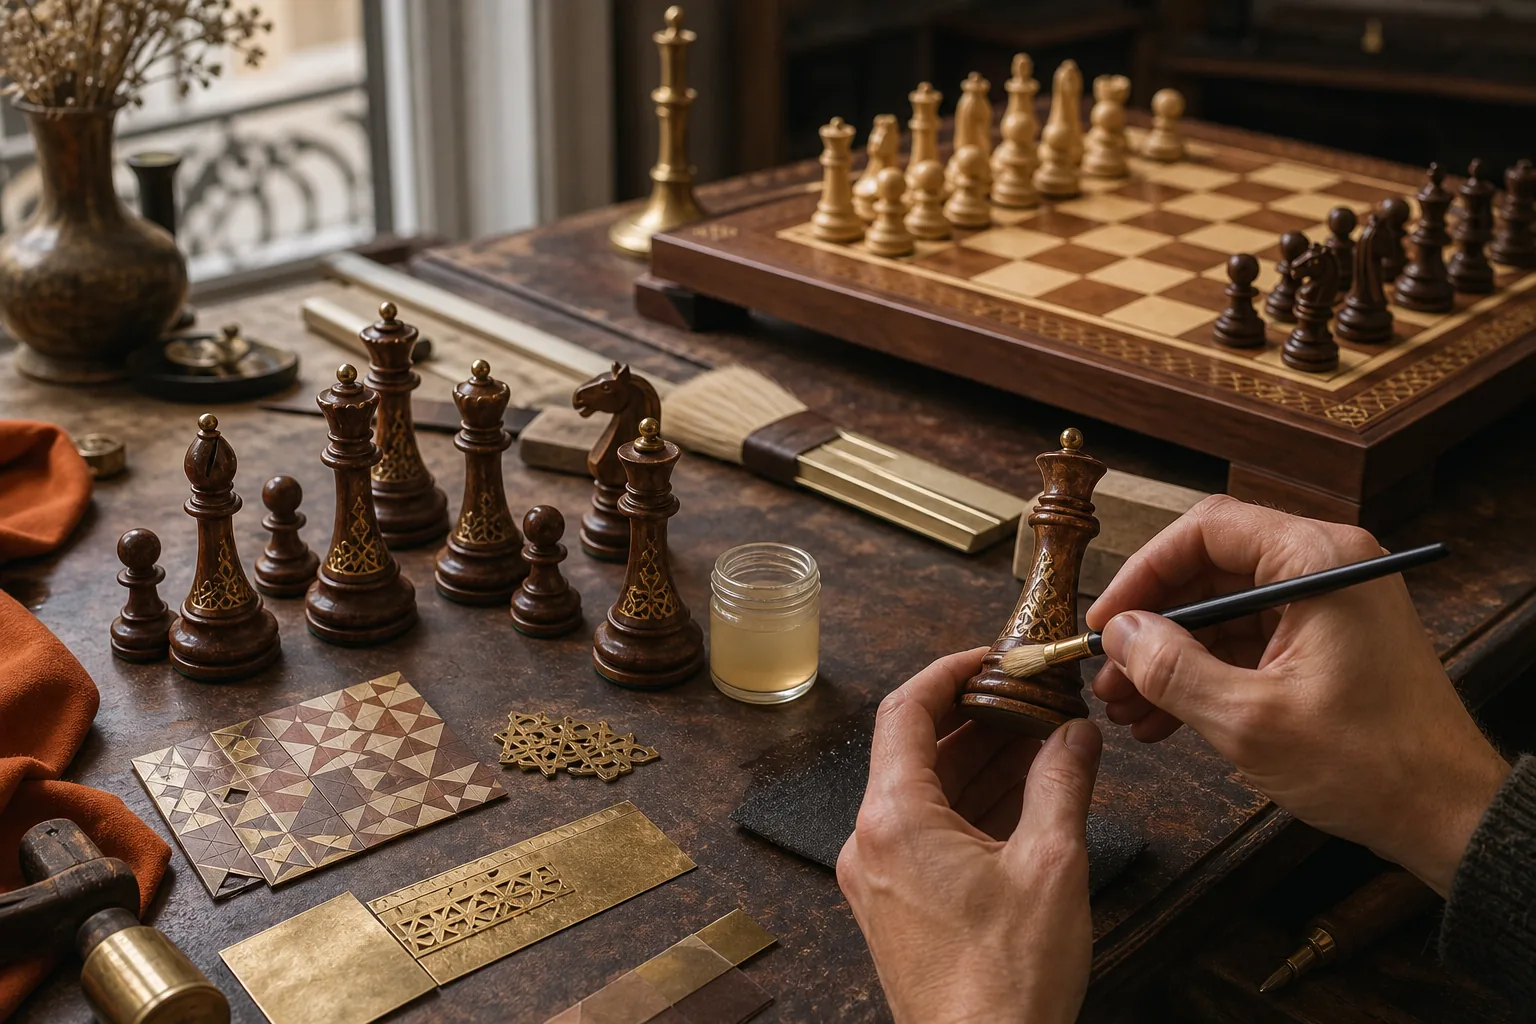
Khatam-kari is especially sensitive to scale. Its star patterns rely on many narrow slivers set into a precise surface. To understand the geometry behind this Persian marquetry, see Pilardi’s explanation of khatam-kari and its geometric handwork.
Let every layer cure before adding the next. If the surface still smells strongly of solvent or feels tacky, it is not ready for wax, packing, or play.
Decision rule: Choose the finish that keeps the grain and piece shapes visible. A glossy surface is only useful if it can survive regular handling.
Step 6: Inspect, Care for, and Decide How to Buy or Gift the Set
A finished handmade chess set needs a slow inspection before it reaches a table. Place every piece on the board and check the fit, balance, color, and surface.
Final inspection checklist
- Confirm that the board sits flat without rocking.
- Check each square for glue lines, open gaps, or raised edges.
- Place every piece on the board and look for crowding.
- Test the king, queen, and knights for balance.
- Run a soft cloth over the finish to find rough spots.
- Check that felt or leather covers every weighted base.
- Make sure decorative metal has no sharp corners.
For care, keep the set away from direct sun, radiators, damp rooms, and sudden heat changes. Wood responds to its surroundings. Store the pieces in a lined tray or soft bag so they don’t rub against one another.
Dust with a dry, soft cloth. If the surface needs more, use a barely damp cloth and dry it right away. Avoid soaking the board. Avoid household sprays unless the finish maker says they are safe. Water can reach joints and cause swelling.
Waxed surfaces may need a light refresh when they look dry, but do not keep adding layers without cleaning first. Too much wax can make the board cloudy. For a loose inlay or cracked frame, stop using the set and ask a furniture restorer to assess it. Do not flood a small repair with instant glue.
Buying can make more sense than building when you want a board for a finished room, a serious gift, or a collection. Ask for the exact dimensions, piece height, materials, finish, weight, care notes, and shipping method. Handmade sellers may not publish every specification, so request the details before you commit.
For a collector, provenance matters. Record the maker, craft method, materials, purchase date, and any notes that came with the piece. For an interior designer, measure the shelf or table first. A board that looks modest in a product image may need a large clear surface once the frame and open pieces are included.
Pilardi’s pieces are handcrafted by artisans in Isfahan, curated and shipped from Paris, and made to be played, displayed, gifted, or collected. Each piece is one-of-one. If you are documenting the build or telling a craft story online, a short-form content specialist can help connect brands with clippers who publish short-form content, which may suit visual work like carving and inlay.
A gift set should match the recipient’s habits. Choose a smaller board for a study or apartment. Choose a larger board when the set will sit on a central table. If the person values Persian craft, khatam-kari gives you a clear story to share without reducing the object to decoration.
Milestone: The set is ready when it plays well, sits flat, feels safe to handle, and has care notes that the next owner can follow.
Frequently Asked Questions
What wood is best for a handmade chess set?
Dense wood is best when you need crisp detail and a durable surface. Boxwood and ebony suit finely shaped pieces, while walnut and maple make a strong board pair. Cherry gives a warmer look. For a first project, choose straight, dry stock that your tools can cut safely. The best wood is the one you can shape cleanly and finish well.
How big should a handmade chess board be?
A handmade chess board should be sized around its square width and piece bases. Eight 2-inch squares make a 16-inch playing field before the frame. Eight 2.5-inch squares make a 20-inch field. Test your tallest piece and widest base on the board before cutting the final panel.
How do you make wooden chess pieces?
You make wooden chess pieces by turning or carving blanks into repeatable profiles, then sanding, finishing, and balancing the bases. Start with one sample of each type. Mark height and diameter lines on every blank. Shape broad areas first, then cut the small collars and beads. Add weight only after the base is flat.
How do you weight chess piece bases?
You can weight chess piece bases by cutting a centered recess underneath and fitting a metal insert below the surface. Glue the insert in place, then cover the base with felt or thin leather. Check every piece for rocking before the adhesive cures. Keep the weight centered so the piece stays upright during play.
What finish should I use on a wooden chess set?
Use a finish that matches the wood and keeps the shapes visible. Danish oil can give a warm, low-sheen surface, while stain adds color and contrast. Wax can add a soft final sheen after the first finish cures. Always test on scrap first, follow the label, and allow each coat to cure before handling.
Is it better to make or buy a handmade chess set?
Make a handmade chess set when you want control over its size, wood, and design. Buy one when you want proven proportions, finished craft, or a gift that is ready to display. A one-of-one piece from Pilardi may suit collectors and design lovers who value Persian workmanship without taking on a full workshop project.
For a first build, keep the board size modest and make test pieces before committing fine wood. If your aim is a finished collectible rather than a long workshop project, explore Pilardi’s one-of-one game boards, then ask for the dimensions and care details that fit your room.


